Setup Home Assistant OS
Support status
Section titled “Support status”This port is experimental and the T3 is not listed among the officially supported HAOS hardware families (e.g. Raspberry Pi, ODROID, Generic x86-64). Expect occasional quirks and always keep backups.
Preparation
Section titled “Preparation”What you’ll need
Section titled “What you’ll need”Hardware:
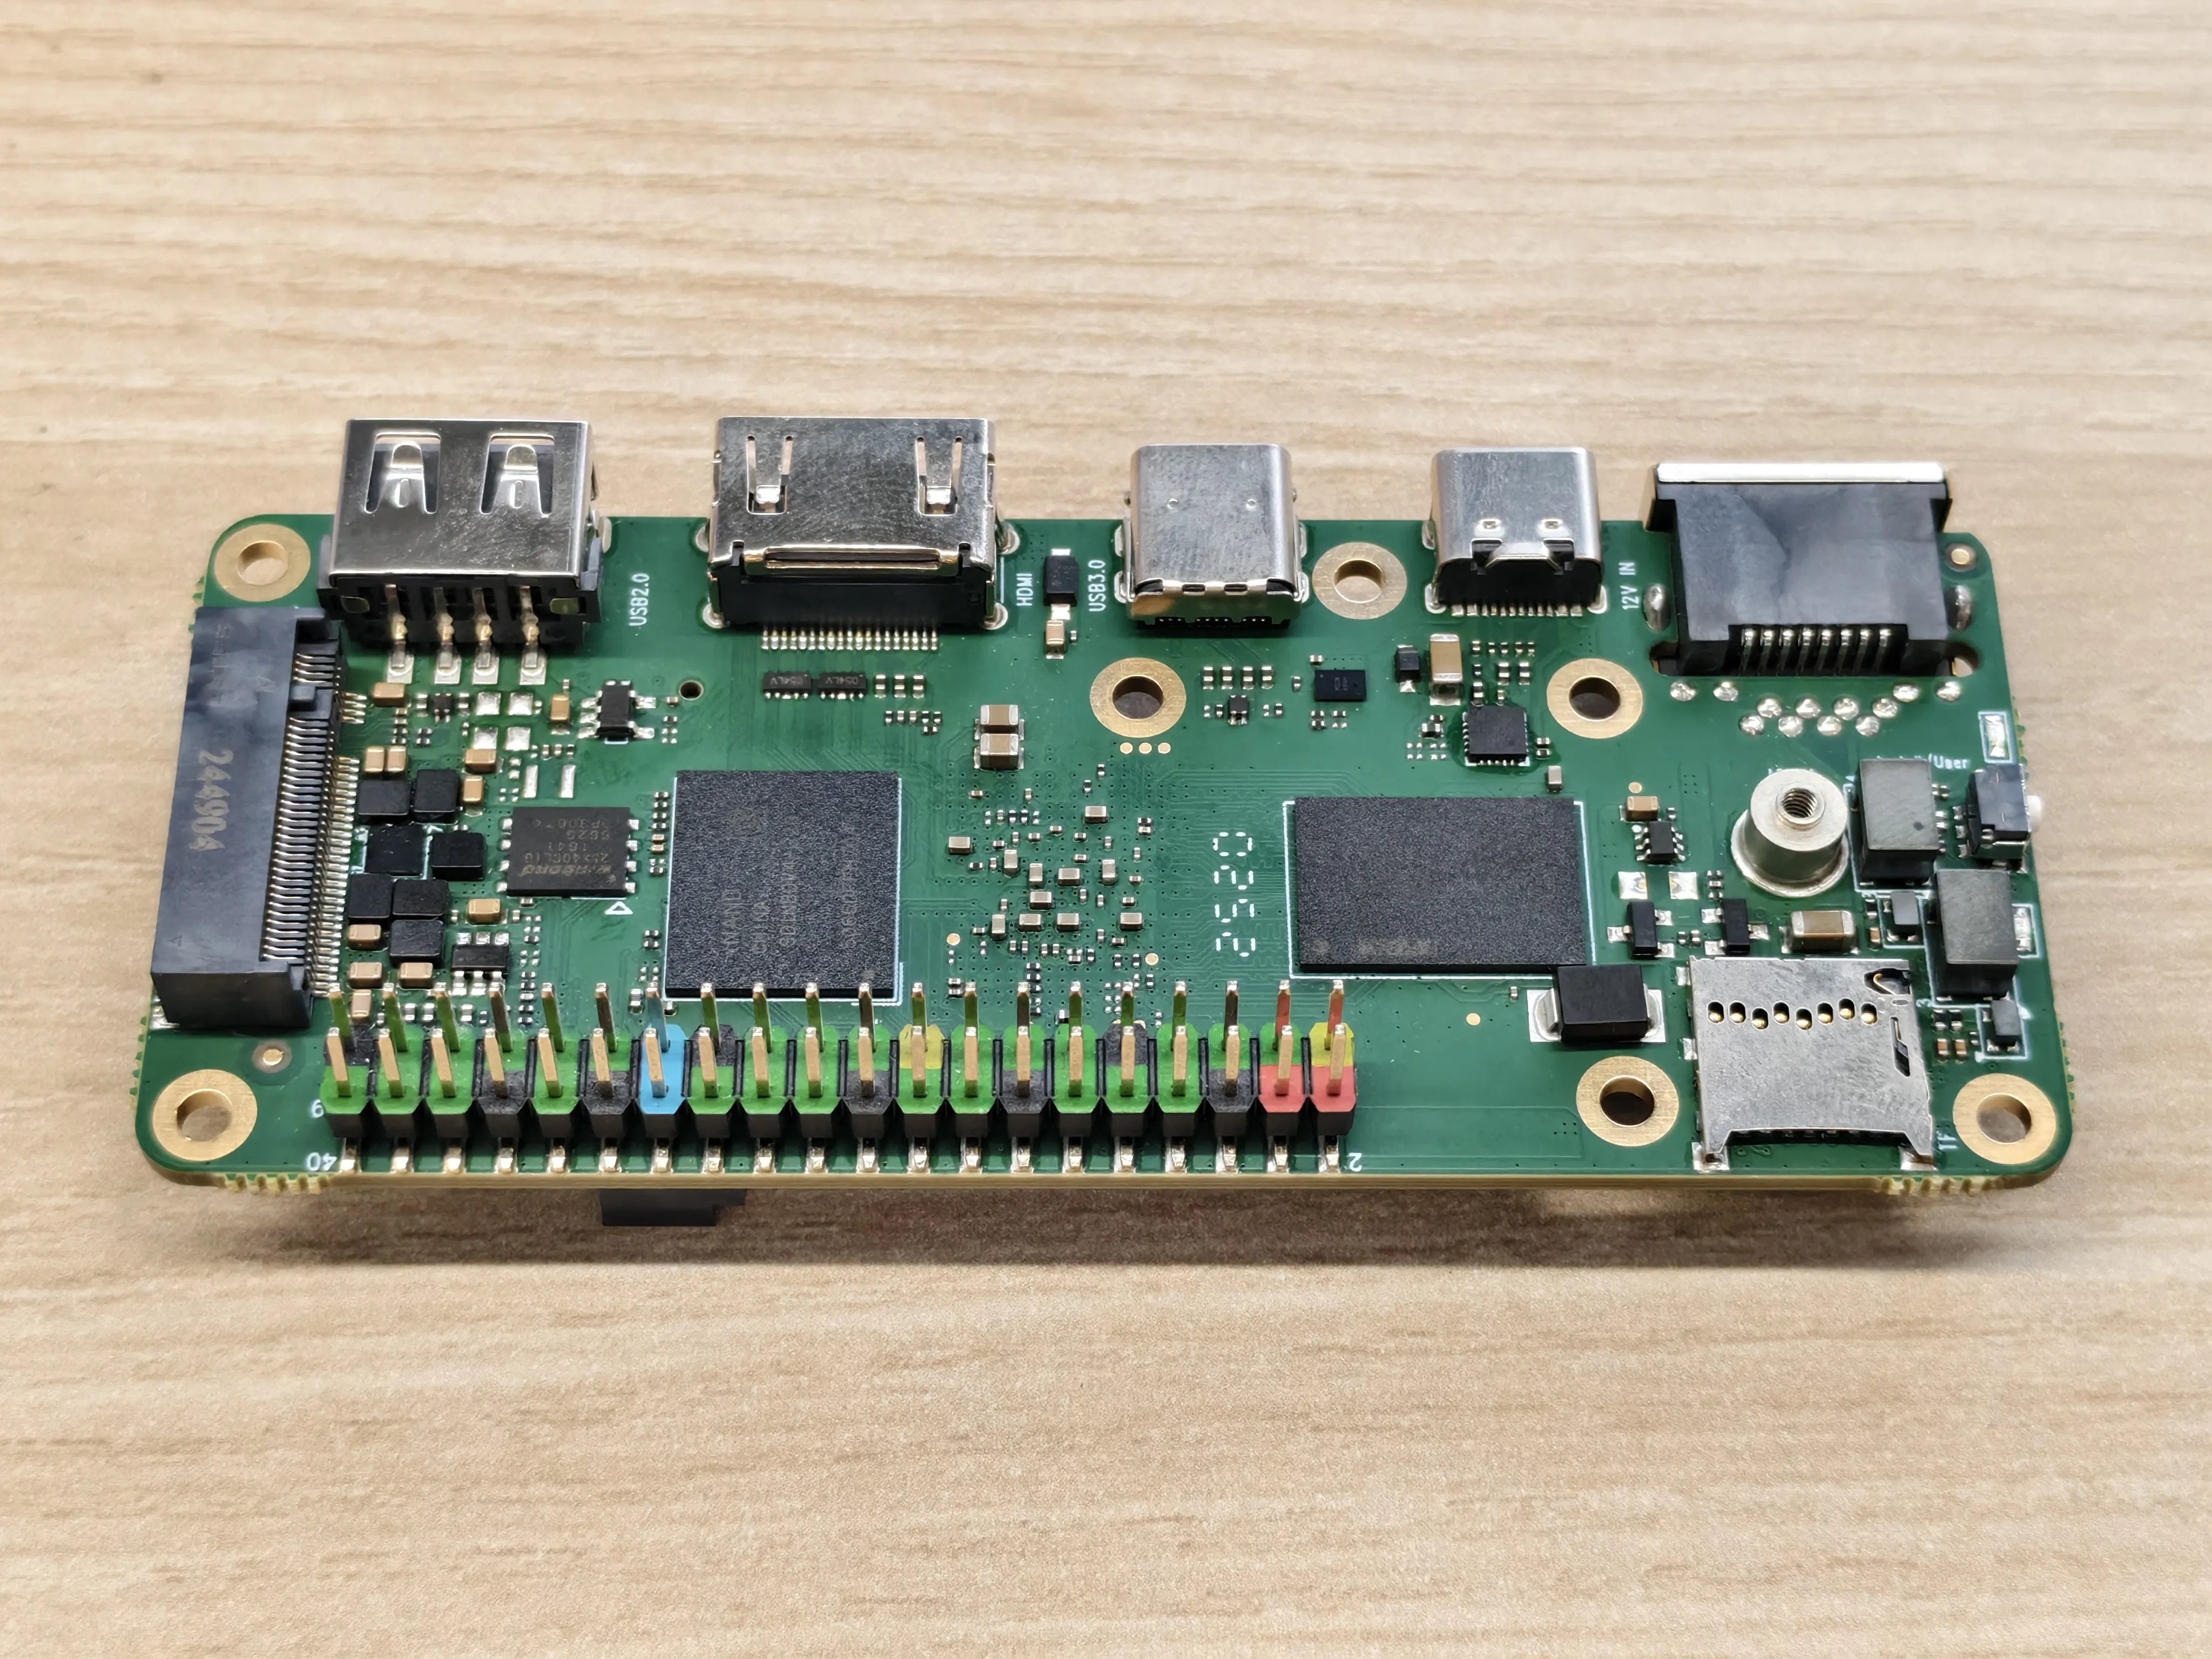
- XpressReal T3 board
- Power supply that meets board spec
- Storage: microSD card (≥ 16 GB, U3/Class 10 or better)
- Card reader (for flashing)
- Network: Ethernet cable (recommended) or Wi‑Fi
- (Optional) HDMI display + USB keyboard (for local console), USB Zigbee/Z‑Wave dongles, etc.
Software:
- HAOS image for XpressReal T3 — download from our GitHub Releases page
- balenaEtcher (Windows/macOS/Linux) or Rufus (Windows)
- (Optional) SSH client (for add‑on shell access later)
Get the image and flash
Section titled “Get the image and flash”- Download the latest HAOS for XpressReal T3 image (and its checksum file if provided).
- Verify the checksum to ensure the download isn’t corrupted (recommended).
- Insert the microSD/SSD (via USB adapter) into your computer.
- Open balenaEtcher → Flash from file → select the HAOS image → select the target drive → Flash.
- Safely eject when done.
Optional: Pre‑configure Wi‑Fi (headless mode)
Section titled “Optional: Pre‑configure Wi‑Fi (headless mode)”Ethernet is recommended for the first boot. If you must use Wi‑Fi, HAOS supports a NetworkManager keyfile named my-network placed on the CONFIG/network/ folder of the flashed media.

-
After flashing, re‑insert the card/drive so your OS mounts the
hassos-bootpartition.-
On macOS, mount the
hassos-bootpartition as follows:Terminal window $ diskutil list/dev/disk4 (external, physical):#: TYPE NAME SIZE IDENTIFIER0: GUID_partition_scheme *7.9 GB disk41: EFI hassos-boot 33.6 MB disk4s1...$ mkdir ~/volumes/efi$ sudo mount -t msdos /dev/disk4s1 ~/volumes/efi$ # make changes to CONFIG/network/my-network$ sudo umount ~/volumes/ext4
-
-
Create a
CONFIGdirectory at the root of the partition, then anetworksubdirectory inside it. -
Create a file named
my-network(no extension, UNIX LF line endings) in thenetworkfolder with the following content:[connection]id=my-networkuuid=GENERATE_A_UUID_FIRSTtype=802-11-wireless[802-11-wireless]mode=infrastructuressid=YOUR_WIFI_SSID# Uncomment below if your SSID is not broadcasted# hidden=true[802-11-wireless-security]auth-alg=openkey-mgmt=wpa-pskpsk=YOUR_WIFI_PASSWORD[ipv4]method=auto[ipv6]addr-gen-mode=stable-privacymethod=auto -
Safely eject the media.
First boot & access
Section titled “First boot & access”First boot
Section titled “First boot”- Insert the flashed microSD into the T3.
- Connect Ethernet (recommended) or rely on your pre‑configured Wi‑Fi.
- Power on the board.
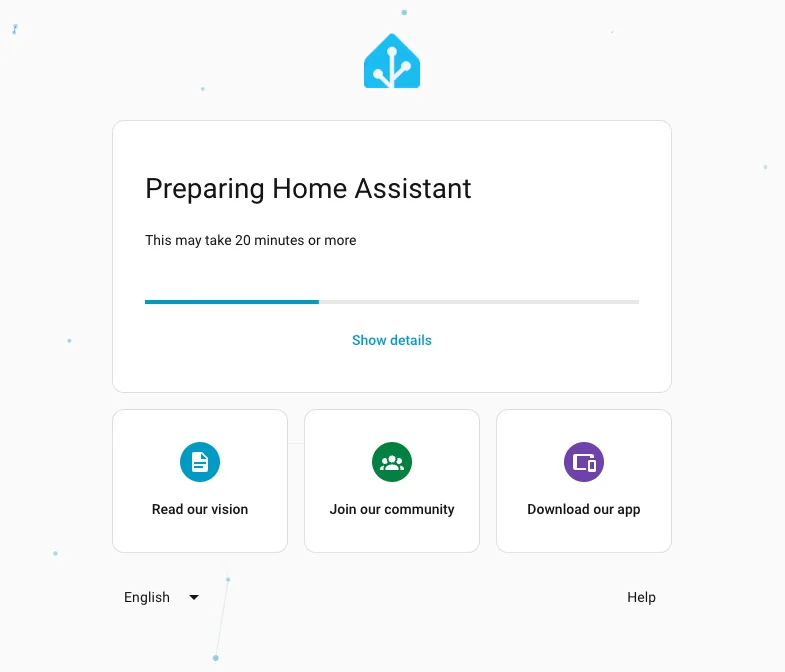
- Wait 5–10 minutes for initialisation (first boot expands the filesystem, sets up containers, etc.).
If you have a monitor connected, you’ll see the HAOS console. Otherwise, continue headless.
Notes:
In the version v0.1, there’s a bug that results in failed network connections, which may cause the web UI stuck in the loading state.
The reason behind is that the NTP server was not set correctly. You may need to access the Home Assistant CLI to solve it after booting. The detailed steps are as follows:
-
After the Home Assistant CLI is ready, type
loginin the console. -
Type the following commands to edit the
/etc/systemd/timesyncd.confTerminal window vi /etc/systemd/timesyncd.conf -
Add a new line:
NTP=pool.ntp.org time.cloudflare.comafter the previous line ofFallbackNTP=time.cloudflare.com -
Restart the
timesyncdservice to sync the time:Terminal window systemctl daemon-reloadsystemctl restart systemd-timesyncd
Access the web UI and onboarding
Section titled “Access the web UI and onboarding”On a device in the same network:
- Try http://homeassistant.local:8123
- If mDNS isn’t working, open your router’s DHCP client list and find the T3’s IP, then visit http://<T3_IP>:8123
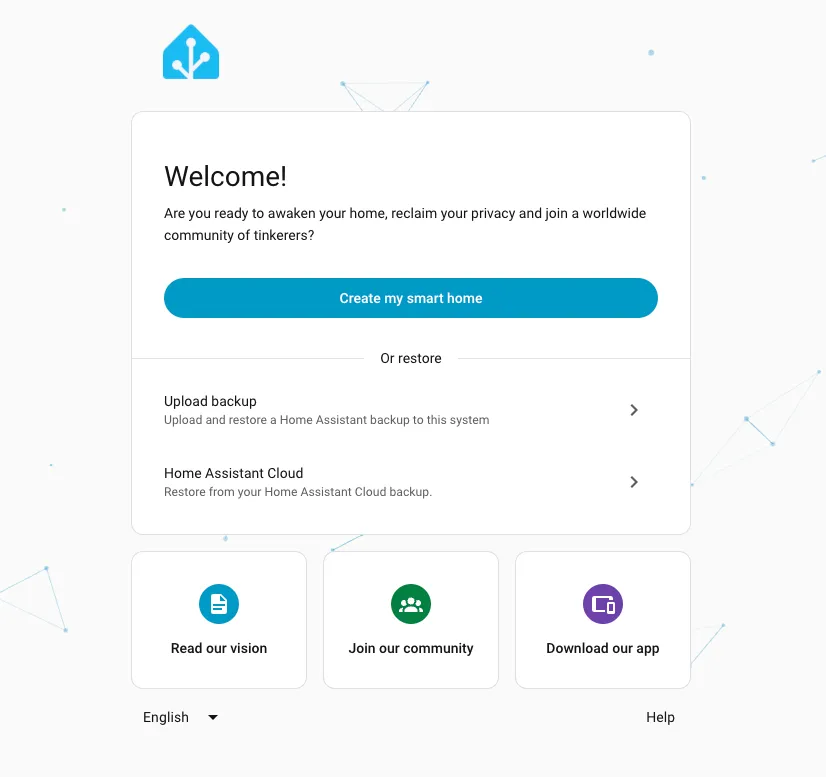
You should see the onboarding wizard, then:
- Create your Home Assistant user (username + strong password).
- Set location, time zone, units.
- Choose whether to enable anonymous usage analytics (optional).
- Home Assistant will auto‑discover some devices on your LAN; you can add or skip for now.
Post‑onboarding essentials:
- Updates: Settings → System → Updates → install OS/Core/Supervisor updates.
- Backups: Settings → System → Backups → create your first full backup (snapshot).
Post‑install
Section titled “Post‑install”Move data to an SSD (recommended)
Section titled “Move data to an SSD (recommended)”If you boot from microSD, you can move the data disk to a more durable SSD for longevity.
Option A — UI: Settings → System → Storage → Move data disk → select your SSD.
Option B — CLI (local console):
# At the HAOS console (login as `root` for the HA CLI)ha os datadisk listha os datadisk move /dev/sda # replace with your SSD device pathThe system will migrate and reboot.
Integrations & add‑ons
Section titled “Integrations & add‑ons”Open Settings → Devices & Services → Add Integration. Popular choices:
- Zigbee: Sonoff Zigbee 3.0 USB Dongle (or similar) via ZHA
- Z‑Wave: USB stick via Z‑Wave JS
- ESPHome: for DIY ESP32/ESP8266 sensors and switches
- MQTT: Mosquitto broker (via Add‑on) + MQTT integrations
- Cameras: ONVIF/RTSP, or Frigate add‑on for local AI detection (requires supported accelerators)
- Voice assistants: Google Assistant, Alexa; or explore local options
Common add‑ons (Supervisor → Add‑on Store):
- File editor — edit configuration.yaml in the browser
- Samba share — access HA files from your PC
- Mosquitto broker — MQTT server
- ESPHome — build and flash ESP devices
- Node‑RED — visual automation builder
- SSH & Web Terminal — shell access (choose the official/Community add‑on you prefer)
Note: On HAOS you use the Add‑on Store; you do not need Docker Compose.
Remote access options
Section titled “Remote access options”- Nabu Casa (Home Assistant Cloud) — easiest, secure remote access and voice assistant integrations (paid subscription).
- DIY — reverse proxy (NGINX/Caddy), WireGuard/Tailscale VPN, or router‑level port forwarding (ensure TLS and strong authentication).
Power, reliability & housekeeping
Section titled “Power, reliability & housekeeping”- Prefer Ethernet over Wi‑Fi for stability.
- Use a quality power supply; under‑voltage causes weird crashes.
- Avoid cheap/old SD cards; prefer SSD or eMMC for 24/7 use.
- Shut down cleanly: Settings → System → Hardware → Power → Shutdown (or ha os shutdown).
- Schedule regular Backups; store copies off‑device.
Troubleshooting & FAQ
Section titled “Troubleshooting & FAQ”Troubleshooting
Section titled “Troubleshooting”Can’t reach the UI
- Check the board got an IP from your router (DHCP list). Try http://<T3_IP>:8123.
- If using Wi‑Fi, re‑check the my-network file (SSID, password) or switch to Ethernet.
- Power cycle after waiting at least 10 minutes on first boot.
Boot loops / stuck
- Re‑flash the image; try another SD card/reader or switch to SSD.
- Confirm your power supply is sufficient (voltage & current).
Add‑ons missing / store empty
- Ensure you’re actually on HAOS (not Container/Core). Settings → System → Repairs may show Supervisor status.
Slow UI or lag
- Move data from SD to SSD.
- Disable unused integrations; monitor logs under Settings → System → Logs.
Need a shell?
- Local console over HDMI/USB keyboard: login as root to use the HA CLI (e.g. ha os info, ha core restart).
- For remote shell, install the SSH & Web Terminal add‑on.
Can I run other services alongside HAOS?
HAOS is designed as an appliance. If you want to co‑host multiple apps, consider an x86 mini‑PC with Docker, or run Home Assistant Container instead. On HAOS, use add‑ons where possible.
Do I lose data if I re‑flash?
If you overwrite the data disk, yes. Always create backups and store them off the device. You can restore during onboarding or from Settings → System → Backups.
Is Wi‑Fi reliable enough?
It works, but Ethernet is more robust for a 24/7 home hub. If you must use Wi‑Fi, ensure good signal and correct country/regs.
Next steps
Section titled “Next steps”- Build your first automation (e.g. motion sensor → light on at night).
- Design a clean dashboard (Lovelace) for phone/tablet.
- Explore energy monitoring, presence detection, and voice control.
Credits & Links
Section titled “Credits & Links”- HAOS Releases for XpressReal T3
- Home Assistant official documentation
- Headless wifi setup - Home Assistant Community
- Home Assistant Wifi (RPi 3/4) - Home Assistant Community
Enjoy your privacy‑friendly, locally controlled smart‑home hub on the XpressReal T3. Happy automating!