XpressReal T3 + FydeSign User Guide
Welcome to your smart signage journey! With XpressReal T3, a powerful SBC device, and FydeSign, FydeOS’s cloud-based media management platform, you can deploy, control, and update multimedia displays remotely—fast and effortlessly.
Whether it’s for retail stores, campuses, buildings, or government offices, this guide walks you through every step to get your XpressReal T3 device enrolled and playing content in no time.
I. Device Enrollment Process
Section titled “I. Device Enrollment Process”🚀 Step 1: Prepare for Enrollment
Section titled “🚀 Step 1: Prepare for Enrollment”Have the following ready:
- An enterprise FydeOS Management Cloud account
- If you don’t have one, You only need to fill out a form to try FydeOS Enterprise Solution for free.
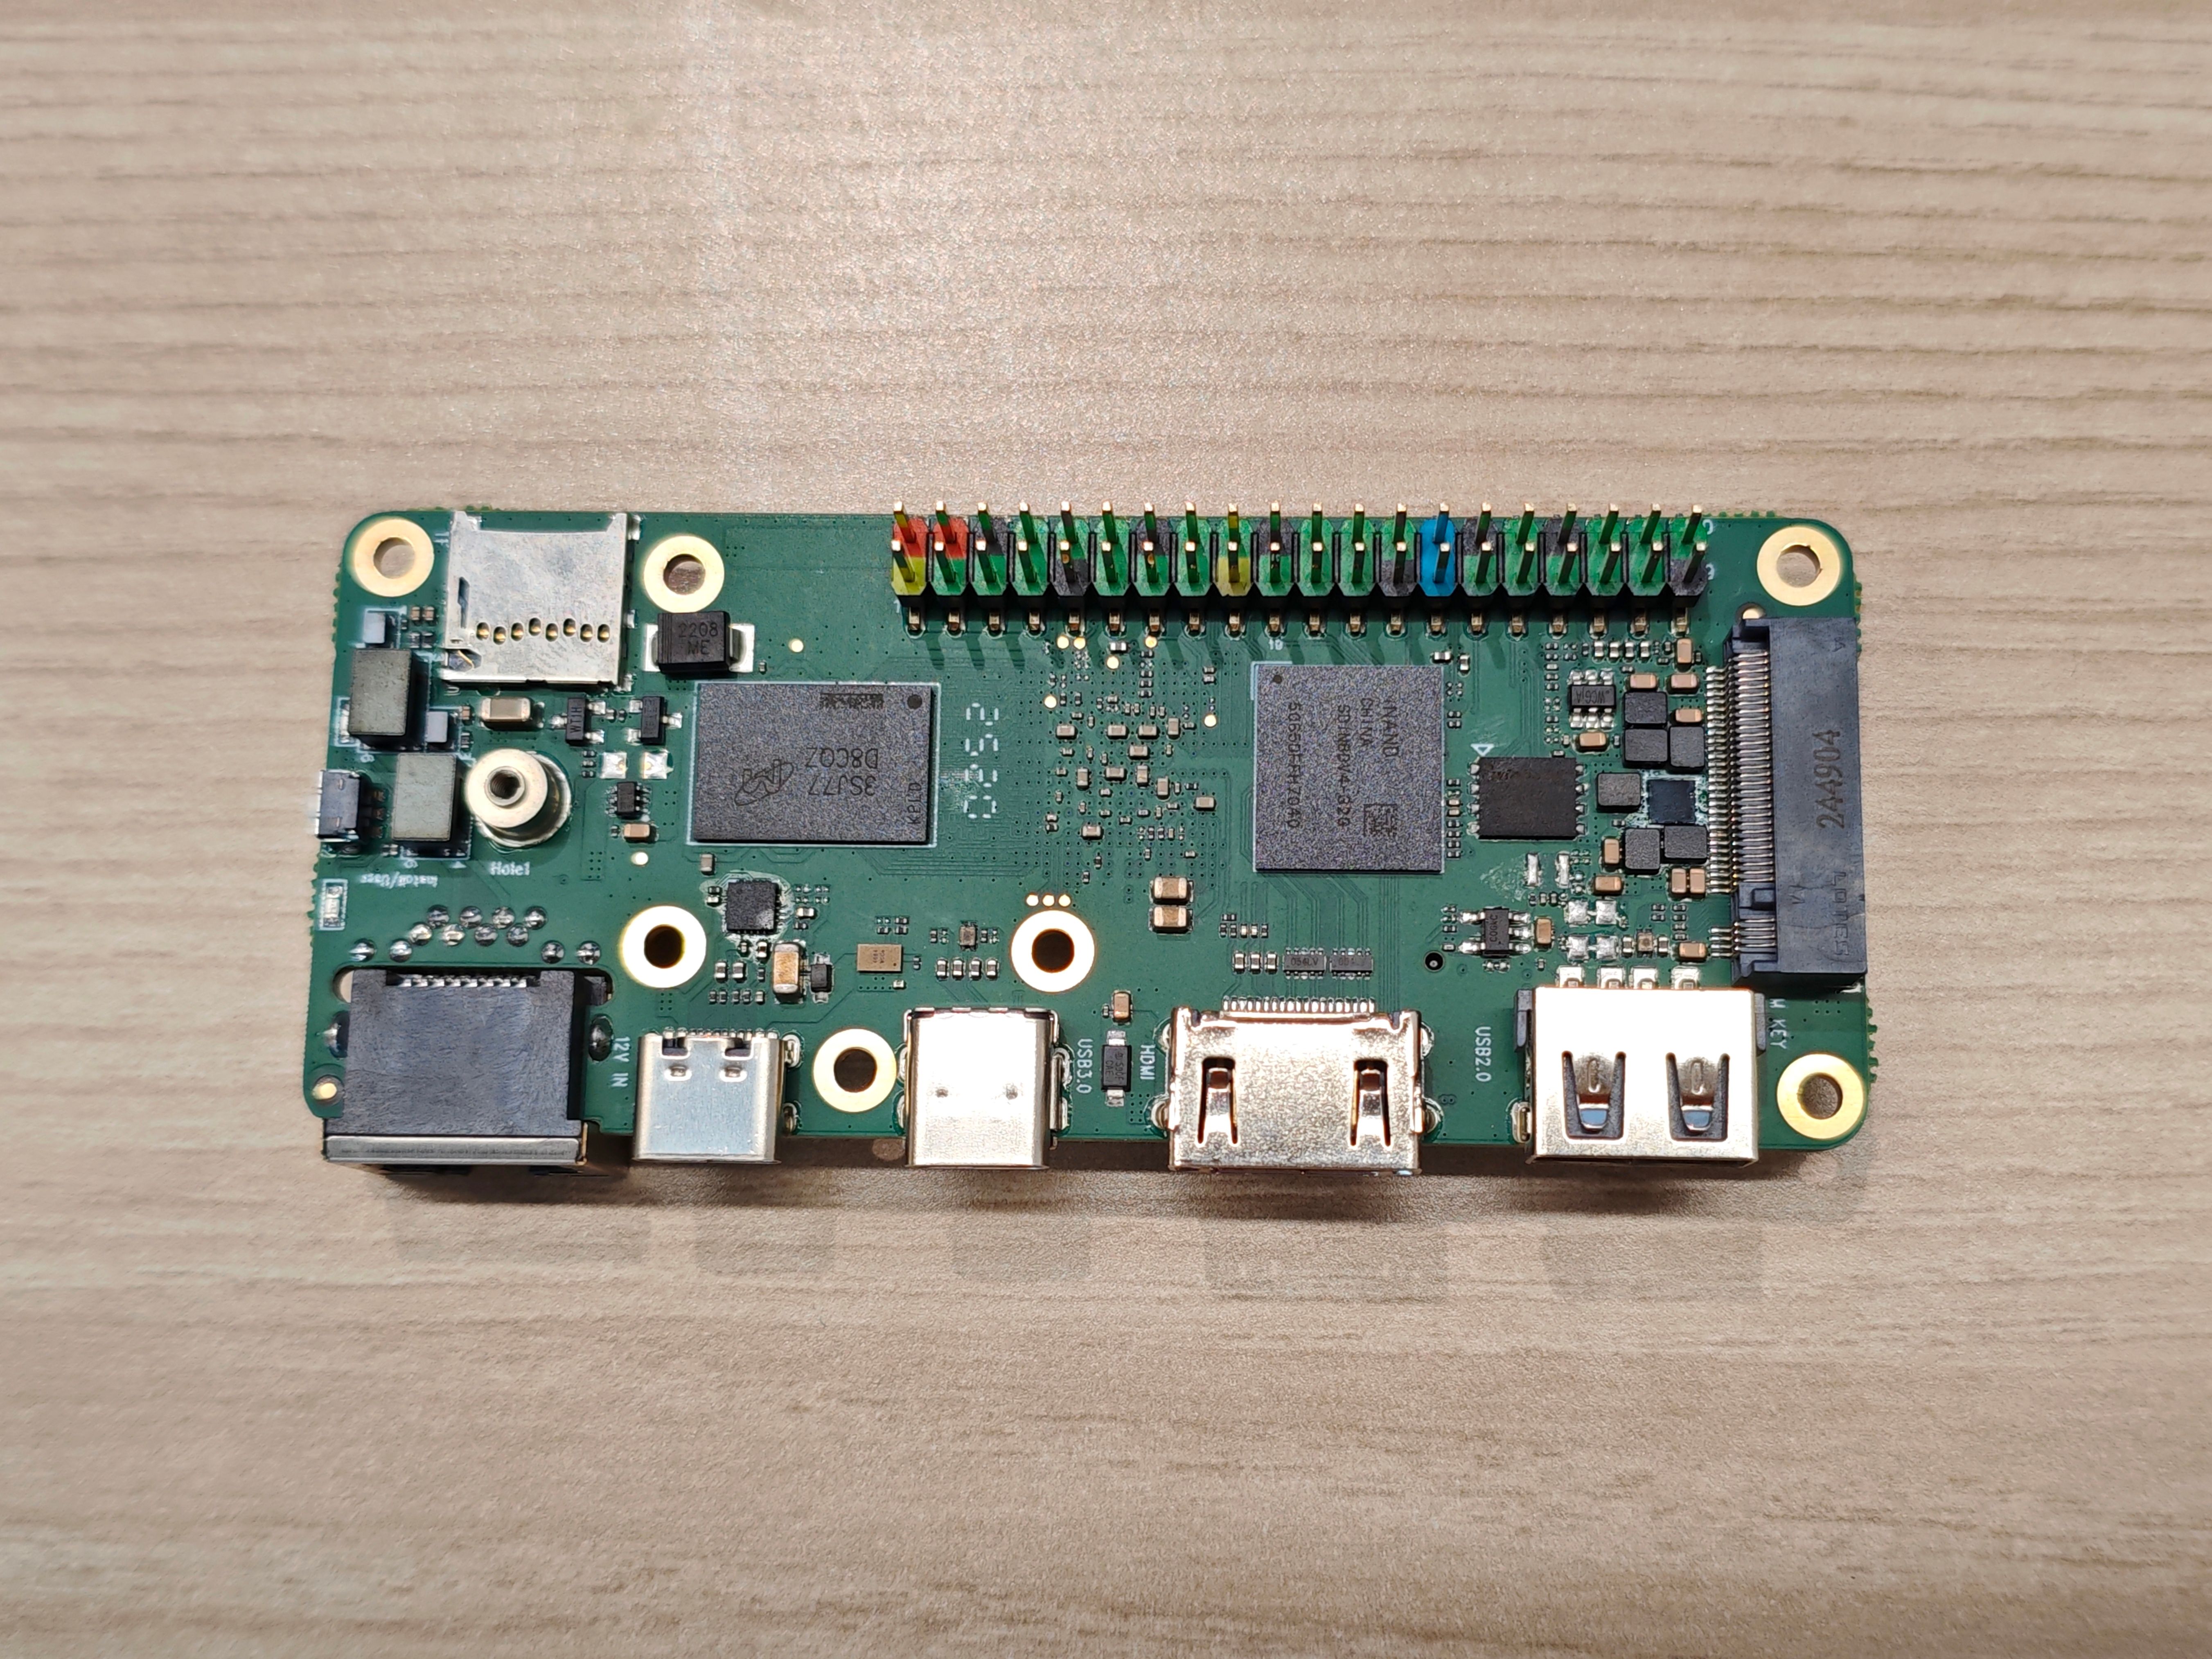
- An XpressReal T3 device and a monitor
- A Zero-Touch Enrolment (ZTE) system image generated from FydeOS Management Cloud (How to Generate a ZTE Image) or a standard image downloaded from the official site
- A blank SD card (≥ 8 GB recommended)
💾 Step 2: Flash the Image to SD Card
Section titled “💾 Step 2: Flash the Image to SD Card”Use BalenaEtcher, Rufus (Windows), or a similar tool to flash the ZTE image to the SD card:
- Launch the flashing tool.
- Select the downloaded image file.
- Insert the SD card and choose it as the target device.
- Click Start Flashing and wait until it finishes.
See Getting Started for detailed instructions.
🖥️ Step 3: Boot and Install the System
Section titled “🖥️ Step 3: Boot and Install the System”- Insert the flashed SD card into the XpressReal T3 device.
- Power on the device and enter the installation wizard.
- Follow the prompts to install the system onto the device’s internal storage.
- After installation, remove the SD card and reboot the device.
See Setup openFyde for detailed instructions.
🧰 Step 4: Complete OOBE Setup
Section titled “🧰 Step 4: Complete OOBE Setup”On first boot, the device enters the OOBE (Out-of-Box Experience) wizard. Follow the on-screen instructions to complete initial setup.
See Setup openFyde for detailed instructions.
🔐 Step 5: Enroll the Device
Section titled “🔐 Step 5: Enroll the Device”- If you used a ZTE image, the device enrolls into your enterprise automatically during OOBE—no manual action required.
- If you are enrolling the device manually using a standard image, please refer to the wiki article: Enrol FydeOS device.
Upon successful enrolment, you will see a confirmation message at the top of the settings page indicating that your device is managed by your enterprise.
II. Automatic FydeSign Startup on Kiosk Devices
Section titled “II. Automatic FydeSign Startup on Kiosk Devices”1. Default Behavior
Section titled “1. Default Behavior”After enrollment, the device is placed in the same organizational unit (default OU) as the account used.
2. FydeSign auto-launched Logic
Section titled “2. FydeSign auto-launched Logic”The device must be in the organizational unit where the auto-launch app is configured in order to automatically start the Kiosk app.
- If the device is not in the organizational unit where the auto-launch app is configured, you need to move the device to that organizational unit. follow these steps to move the device manually:
- Sign in to FydeOS Management Cloud.
- Go to Devices › Devices.
- Click the device to open the details page, then click “Move To” under the Operation section.

- Select the target OU and confirm.
- Reboot the device or wait for a moment to apply the OU change and auto-launched settings.
If FydeSign is already set as the auto-launch app for this OU, and the device belongs to the same OU, the screen will appear in FydeSign › Screens.
III. FydeSign Configuration and Usage
Section titled “III. FydeSign Configuration and Usage”🎯 Step 1: Set FydeSign as the auto-launched App
Section titled “🎯 Step 1: Set FydeSign as the auto-launched App”- Sign in to FydeOS Management Cloud.
- Navigate to Kiosk › Apps.
- In the desired OU, set FydeSign as the auto-launched application.
🖼️ Step 2: Upload Media Assets
Section titled “🖼️ Step 2: Upload Media Assets”- Go to FydeSign › Files.
- Click Upload File and select images, videos, or other media files.
🎞️ Step 3: Create a Playlist
Section titled “🎞️ Step 3: Create a Playlist”- Open FydeSign › Playlists.
- Create a new playlist and add the uploaded media.
- Configure the playback schedule: dates, time slots, order, etc.
🔗 Step 4: Bind a Playlist to Devices
Section titled “🔗 Step 4: Bind a Playlist to Devices”Bind a playlist to the desired device using either method below:
-
Method 1 (from the Screens page):
- Go to FydeSign › Screens.
- Click Action › Bind Playlist for the target screen.
- Choose the playlist and confirm.
-
Method 2 (from the Playlists page):
- Go to FydeSign › Playlists.
- Click Assign to Screens for the target playlist.
- Select the devices and save.
⏱️ Playback may take a few moments to update on device
🚪 Step 5: Exit the FydeSign App (Kiosk Mode)
Section titled “🚪 Step 5: Exit the FydeSign App (Kiosk Mode)”When FydeSign runs automatically in kiosk mode, you can exit or shut down as follows:
- Press and hold the power button for about 1 second.
- A control menu appears with the options:
- Shut Down – power off the device
- Sign Out – exit the current app and return to the system